It’s crucial to use the appropriate materials during a historic restoration project. Using the wrong materials can spell doom for a restoration job and cause the building you were attempting to restore to deteriorate.
When repointing old homes, lime putty mortar is one of the most reliable and compatible mortars you can use. The typical rule of thumb is “modern materials for modern builds, traditional materials for traditional builds.” To help you use lime putty mortar correctly and effectively, here are our tips for using lime putty in historic restoration projects.
What’s Historic Restoration?
Historic restoration is a technique used to preserve, conserve, and protect historic buildings. All buildings require regular maintenance and occasional repair. Historic restoration aims to keep a building in optimal structural and aesthetic condition without compromising its original character and charm.
Why perform historic restoration? Old buildings aren’t just pretty to look at: they also provide valuable information about the past. They inform us of the architectural trends, construction methods, and culture of the time they were built. Historic structures are one of the few means by which we can travel back in time. Restoring these buildings ensures we can learn from and admire them for many years to come.
What’s Lime Putty Mortar?
Lime putty is a binder used as the primary mortar in historic buildings. The primary ingredients are lime, sand, and water. But in the words of Robert Boynton, “lime is not lime is not lime.” In a similar vein, sand is not sand is not sand, and water is not water is not water. To create lime mortar, you need the correct lime, the correct sand, and the correct water.
For lime putty mortar, you need a lime that binds sand particles and contains no Portland cement. There are two kinds of lime that meet these requirements: hydraulic and non-hydraulic lime. Hydraulic lime contains impurities that cause the lime to set when mixed with water. Non-hydraulic lime (lime putty) doesn’t set in water—rather, it sets when exposed to carbon dioxide in the air. Therefore, lime putty mortars must come “wet” and not dry in a bag.
If you’re curious about mortar, you may wonder why you should use lime putty mortar for restoration instead of the more common Portland cement. While Portland cement is exceedingly popular, it isn’t suitable for historic restoration jobs.
Why? There are a few reasons. For one, it’s too hard for the soft bricks and stones of old homes and causes spalling. It also traps moisture, which dissolves lime over time. In contrast, lime putty mortar is soft, flexible, and porous, which allows it to move with the building. The result? No damage!
Tips for Using Lime Putty Mortar in Historic Restoration Projects
Using lime putty mortar isn’t as hard as you may think. To ensure your next restoration job goes smoothly, we’ve compiled some tips for using lime putty mortar in historic restoration projects.
Wear Protective Gear
Our lime is extremely caustic. It can burn your skin if you aren’t careful. Therefore, wear protective clothing. Your shirt and pants should cover your arms and legs. Also, wear gloves with an extended cuff, protective footwear, and safety glasses.
Ensure Optimal Working Conditions
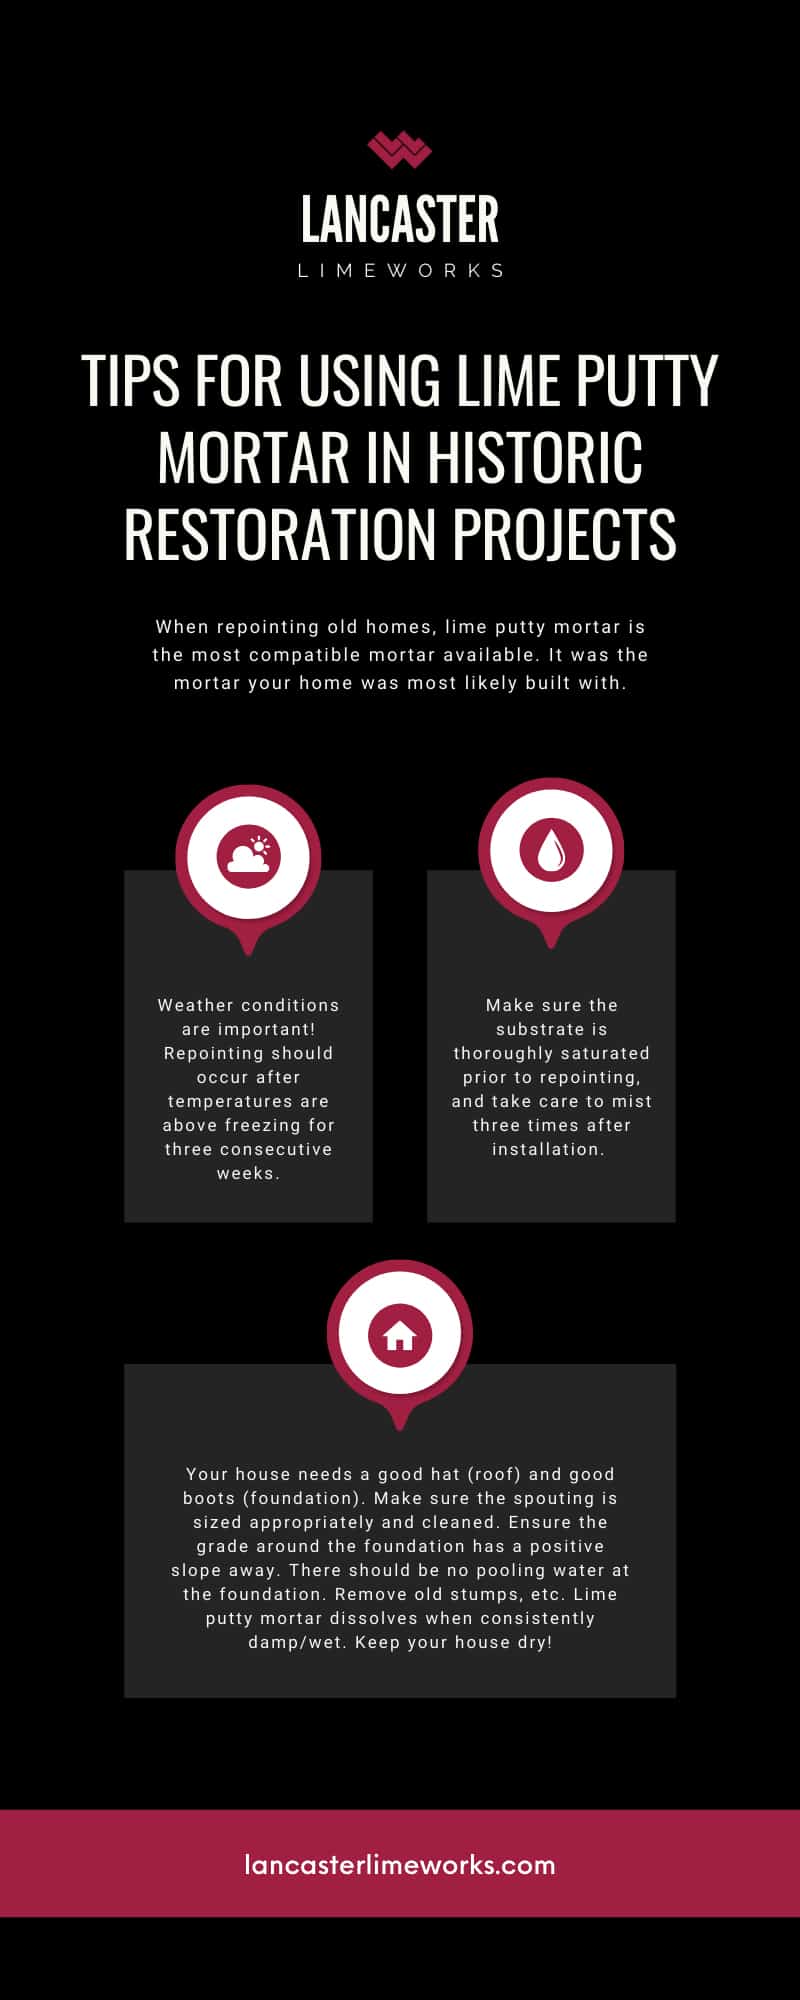
Lime putty mortar can be a bit finicky, so you’ll want to ensure optimal working conditions prior to installation. Install Lime Putty Mortar when temperatures are consistently above freezing for three weeks. Lime putty mortar will fail if it freezes before it carbonates. Special care needs to be taken on excessively hot days as well to prevent failure. More on this below.
Thoroughly wet the substrate before installation. This is especially relevant during the hot summer months. Wind and heat can evaporate this necessary moisture. After installation, lightly mist the wall every day for three days. This will aid in the carbonation process.
Mix
To mix lime putty mortar, follow these instructions:
- Open the bucket and pour the water that is on top of the lime putty mortar into another pail.
- The fastest way to mix is to use a right-angle drill with an eggbeater attachment. Hold the bucket between your feet and slowly begin to mix. Avoid splatter. Typically, five minutes of vigorous mixing will be sufficient.
To hand mix, remove mortar onto a hawk, and with a trowel, mix mortar until it sticks to the hawk and slicker.
Lime putty mortar should stick to your hawk and tools after it is mixed. If it remains crumbly, continue to mix until it is a creamy consistency.
Installation
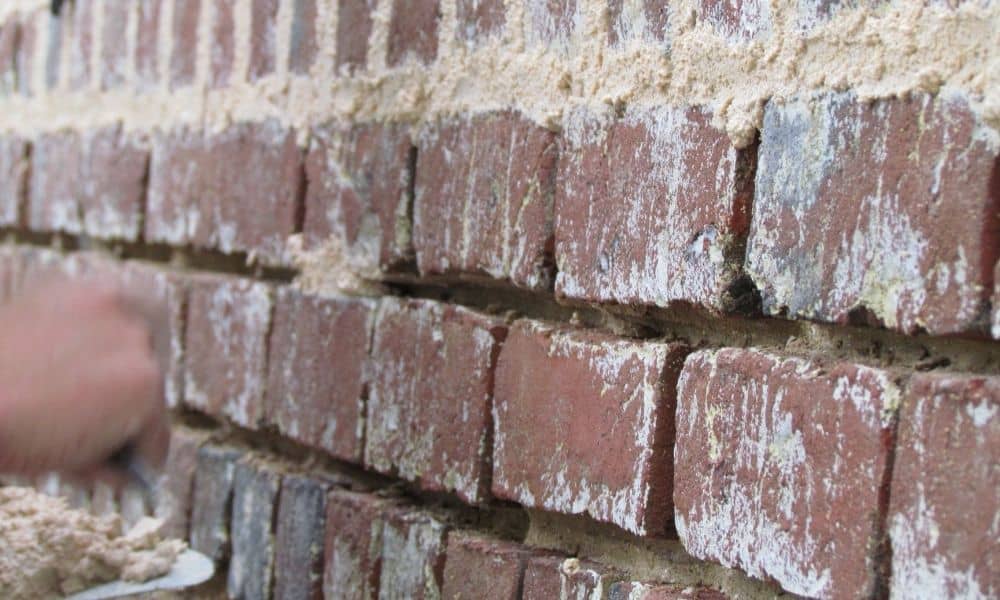
Once the putty reaches a smooth, even consistency, there are just a few more steps before it’s ready for use. Prior to use, make sure all the loose mortar has been removed back in the joint to a depth of at least twice the joint width. The back of the joint should be squared off to allow lime putty mortar to key in. Thoroughly wet the substate the night before and morning of installation. Then, install the mixed mortar, leaving the joint proud. Finishing will occur when the mortar is “thumbprint” hard. Joint profiles vary. Typically, finishing the joint to match the surrounding mortar joint profiles is recommended.
Aftercare
After the joint is finished, lightly mist the wall and joints with a pump-up garden sprayer or a hose on a light mist setting. This should be done three times over the next several days. This encourages carbonation. Chlorinated water should be avoided. Leave chlorinated water to outgas prior to misting the wall. Alternatively, attach a carbon water filter to the garden hose to remove chlorine. Chlorine is a chemical that will react with the lime in lime putty mortar. The byproduct is salt. Salt is very difficult to remove from masonry and should be avoided.
Lancaster Lime Works is a trusted supplier of lime putty mortar in the US. If you need lime mortar and/or other materials for your next historic restoration job, we have reliable and high-quality products you can count on for superior results. Shop today or contact us for more information on our products. As always, we are here to answer questions and help!


You must be logged in to post a comment.